| How to use the step by step plugin for WordPress | ||||||||||||
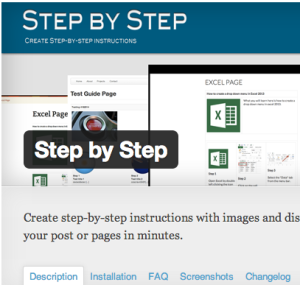 | Learn how to create a guide that contains step-by-step instructions using the step-by-step plugin for WordPress. Version 2.0 | |||||||||||
| ||||||||||||


Sharing what I've learned, so I can learn
| How to use the step by step plugin for WordPress | ||||||||||||
| Learn how to create a guide that contains step-by-step instructions using the step-by-step plugin for WordPress. Version 2.0 | |||||||||||
| ||||||||||||